
Switching M365 Licensing using PowerShell
PowerShell can automate several tasks that you might find yourself in M365 Administration. You may find yourself in an organization in the need of Switching M365 Licensing using PowerShell. At least I would use PowerShell. Changing licensing requires you to remove the older license and add the new licensing. Try manually doing that for hundreds of accounts…not cool. Using PowerShell is a lot faster. I will show you how to get it done in no time.
Figure out the SKU for your Licenses
When I say licenses, I mean the ones you currently have and the ones you want to replace them with. There are 2 ways to do this. If you don’t have a lot of licensing with Microsoft you can just look it up by going to this article by Microsoft. If you have a lot of different licensing or you would just like a handy CSV of what you currently have, go to this site. It has a nice PowerShell Script.
Switching M365 Licensing using PowerShell Example
In this example I am going to use an example of a company that is upgrading their licensing from M365 Business Premium, with Teams Phone Standard and Exchange Online Plan 2 to M365 E5, which includes all the old licensing plus more.
First things first, make sure you have enough of the new licensing. Go to licenses in the admin portal and make sure you have enough. The script will err after it runs out of licenses to switch. At that point you can also go back to the portal and see what users were missed and manually switch them.
The User List
For Switching M365 Licensing using PowerShell you need to create a CSV File that has the UPN of the user and their Display Name. the script will need it. In licenses you can go to the exact license and it will show all the users licensed to it. You can download the list as a CSV and it will help you create the list you need in the script.
The License SKU’s
Make a list of old SKU’s and the new ones. In my example I have the following:
Old – SPB (M365 Business Premium),MCV (Teams Phone Standard),EXCHANGEENTERPRISE(Exchange Online Plan 2)
New – SPE_E5 (M365 E5)
The Script
Here is the PowerShell Script that removes the old licenses and adds the new:
#Path to UPN File #

$CSVPathUPN = "C:\Path\To\CSV\usersexchplan2.csv"


##Run Script##

##Try import UPN CSV file##

Write-Host Importing CSV

try {
    $UPNUsers = import-csv $CSVPathUPN -ErrorAction stop
}
catch {
    throw "Error importing CSV: $($_.Exception.Message)"
    break
}

$busprem = Get-MgSubscribedSku -All | Where SkuPartNumber -eq ' SPB '
$teamsphone = Get-MgSubscribedSku -All | Where SkuPartNumber -eq ' MCV '
$exchplan2 = Get-MgSubscribedSku -All | Where SkuPartNumber -eq 'EXCHANGEENTERPRISE'

foreach ($UPNUser in $UPNUsers) {

$Uname = $UPNUser.UPName
$Dname = $UPNUser.displayName

# Unassign Bus Prem and Teams Phone Standard

Write-Host Removing Bus Premium, Teams Phone Standard Licensing and Exchange Online for $Dname ....
Set-MgUserLicense -UserId $Uname -AddLicenses @{} -RemoveLicenses @($busprem.SkuId)
Set-MgUserLicense -UserId $Uname -AddLicenses @{} -RemoveLicenses @($teamsphone.SkuId)
Set-MgUserLicense -UserId $Uname -AddLicenses @{} -RemoveLicenses @($exchplan2.SkuId)
}

Write-Host Need to Pause so removed licenses can sync before adding the new ones

Pause

$e5Sku = Get-MgSubscribedSku -All | Where SkuPartNumber -eq 'SPE_E5'

foreach ($UPNUser in $UPNUsers) {

$Uname = $UPNUser.UPName
$Dname = $UPNUser.displayName
# Assign E5

Set-MgUserLicense -UserId $Uname -AddLicenses @{SkuId = $e5Sku.SkuId} -RemoveLicenses @()

Write-Host Added e5 Licensing for $Dname ....

}

Write-Host All done
You Need To Test!
Please do not run this script with your entire user list. Take a small sample. If something goes wrong you only have to work with a few users and not hundreds.
This example script is great for installations where most users have the same licensing but in cases where the user licensing in all over the place or they use group-based licensing, you will have to tweak the script. In a later post I will show you how to deal with assigning / removing licensing in a group-based scenario.
Set up Auto Archive Fast for Outlook
If you use Exchange Online for email in M365, great! Depending on your licensing structure you will have anywhere from 50 to 100 GB in storage space. However, that might not be enough. This article will show you how to Set up auto archive fast.
Why Configure Auto Archive for Outlook
The are a few reasons why you would want to do this. I already mentioned above that you could be running out of online storage space and need to free some up. Another reason is that you have some older email you don’t really read very often but would like to have it is a reference that is easily searchable. More reason to Set up Auto Archive Fast.
Configuring AutoArchive
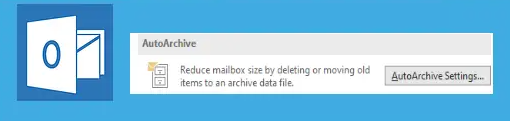
- Click File / Options / Advanced / Auto Archive Settings:
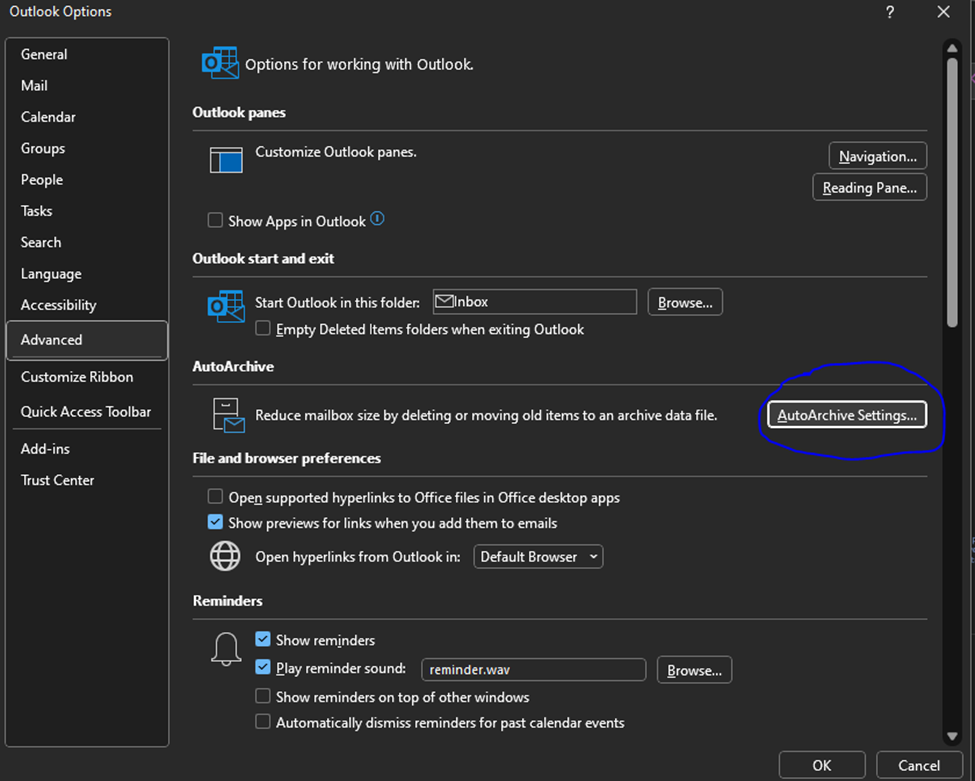
2. Once you have open AutoArchive Settings from options, you need to set them:
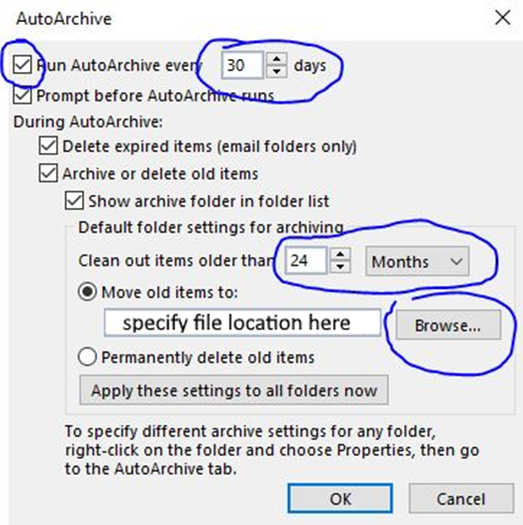
3. You will need to configure at least 4 settings. They are:
Enable Auto archive – You won’t be able to configure any other settings until you check this box.
Frequency – specify in Days how often you would like archive to run (in days).
Date to Start Auto Archive – When auto Archive runs it checks for items older than you specify and adds them to the archive. You can specify in Months / Weeks / Days, or you can choose to permanently delete old items. I wouldn’t recommend this unless you are an advanced user and know how to work with .ost files.
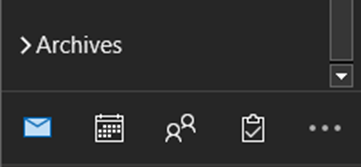
Once AutoArchive runs once you will see it in your Outlook underneath your inbox as a searchable mail store:
You can get pretty fancy with Auto Archive if you know what you are doing. But if you are not sure, reach out to your IT Department. If not, your IT department better have a good backup solution. Otherwise, this article shows you how to Set up Auto Archive Fast.
Clearing Teams Cache on Multiple Profiles
You upgraded to Microsoft Teams 2.0. Great. The only issue is the new Team’s hangs on login. Clearing the Teams cache will do the trick. You know how to clear the cache for one user but what if the machine in question is logged into by several users? Manually deleting dozens if not hundreds of profiles could take a very long time. How do you go about Clearing Teams Cache on Multiple Profiles.
If you follow the tips in this article, you will have it done in No Time.
Prerequisites
The following needs to occur when Clearing Teams Cache on Multiple Profiles:
- Be an Admin on domain (obviously 😊).
- Run PowerShell on Domain where the computer(s) reside.
- The WinRM services needs to be running when the cache is cleared.
- Use the invoke command to run the PS command on the remote machine.
- For security purposes, stop the WinRM service when done.
Location For Clearing Teams Cache on Multiple Profiles
Microsoft Teams 2.0 has a new local for its cache. It is C:\Users\<UserName>\AppData\Local\Packages\MSTeams_8wekyb3d8bbwe\ . This is the location you need to work into your PowerShell command. If are still using Teams Classic Use C:\Users<UserName>\AppData\Local\Microsoft\Teams* to work into your PowerShell command.
Constructing The PowerShell Command
The command is constructed like this for Clearing Teams Cache on Multiple Profiles:
Get-Service -ComputerName <ComputerName> -Name WinRM | Start-Service

Invoke-Command -ComputerName <ComputerName>  -ScriptBlock { Remove-Item "C:\Users\*\AppData\Local\Packages\MSTeams_8wekyb3d8bbwe\*" -Force} -credential <yourusername>

Get-Service -ComputerName <ComputerName>  -Name WinRM | Stop-Service -Force
Running this command remote will remove the teams’ files from every user profile on the computer. If you want to make sure the command works before you pull the trigger, you can add the -whatif switch to the end of the Remove-Item command (before the quote).
If you have more than one machine to work on you can run a for each loop with a variable for <ComputerName> that reads the variable from a CSV file. This is a lot faster
2 Ways to Check M365 App Registration Logging
You have created an App in Microsoft Entra and need to see where you can look at M365 App Registration Logging. This is important because the service that depends on it, whether it be with M365 or a 3rd party, can fail and you need to find out why.
A log of any kind is always the best place to start. Here’s how you do it.
Accessing M365 App Registration Logging Through Sign-in Logs
It is quite simple really. All you must do is:
- Go into your Microsoft Entra Portal
- Go to Users / All Users / Sign-in Logs
- From here, you filter like you normally would but instead of filtering by user, you filter by Application.
- Enter your App Registration Name in “+Add Filter.”
- I like to filter by date so I can get a time window of what I am looking for.

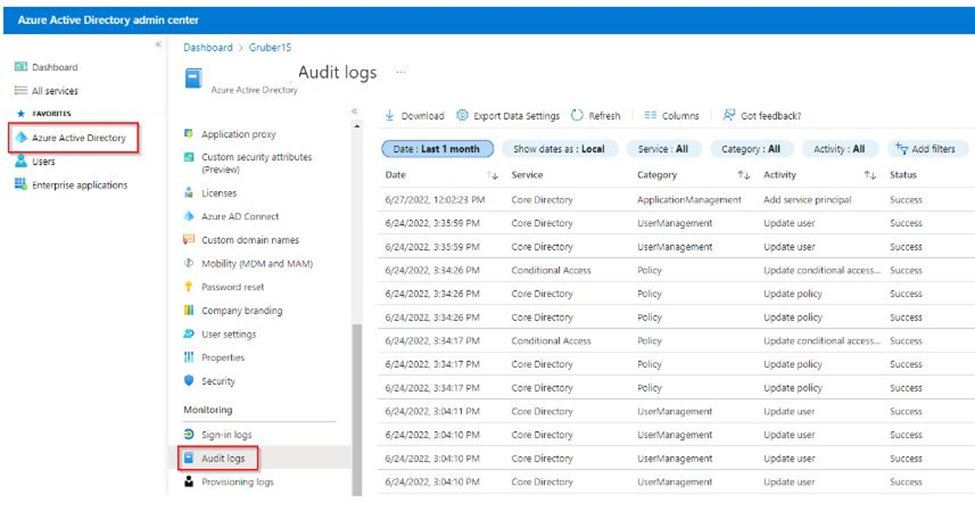
Accessing M365 App Registration Logging Through Audit Logs
You can also check M365 App Registration Logging by going into the Microsoft Entra audit logs.
It is also simple really. All you must do is:
- Go into your Microsoft Entra Portal
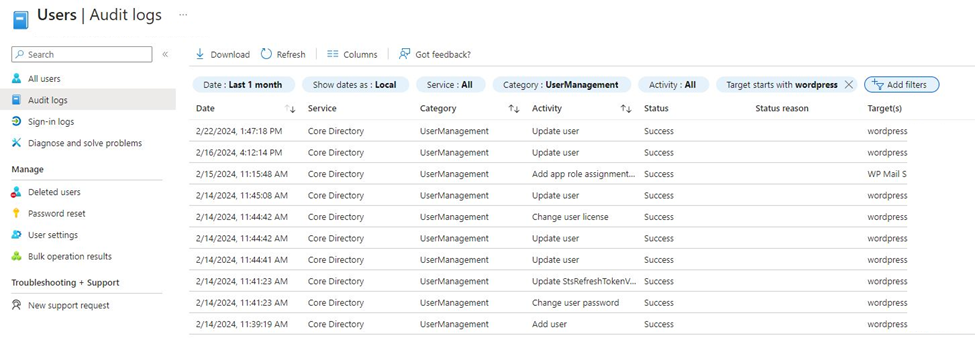
- Go to Users / All Users / Audit Logs
- From here, you filter by target (in this case, the user who the app registration is under).
- I also like to filter by date so I can get a time window of what I am looking for.
When Would You Need Logging
M365 App Registration Logging is useful if one of your services that depends on an App Registration fails. Direct examples include, when you have a PowerShell script or a custom app that uses the app registration and some has change where it could throw an error.
Another example is when you use a third part service like a WordPress Plugin that requires the use of an App registration, and it starts to throw errors for whatever reason. The third-party logs may only be able to tell you that it failed trying to access or use the app registration. Anything more, you must go into the M365 logs. In my experience, outdated plugins can cause this. Changes in security on the App registration side can also cause this.
Hopefully using these 2 Ways at M365 App Registration Logging will be helpful on your troubleshooting journey.