
Set up Auto Attendant for Teams After Hours Call Forwarding
You may have a need to Set up Auto Attendant for Teams After Hours Call Forwarding. An example is a department that supports after business hours, and you have an on-call person who answers the call and a secondary person who answers if the first one cannot. In this post I can show you how to set up an auto attendant to do this.
So read on and I will show you step by step how to achieve this.
Prerequisites to Set up Auto Attendant for Teams
You will need the following elements before you get started.
- A resource account (With Teams Resource Account license) and a Telephone number assigned for the Auto Attendant.
- A Telephone number for each Teams Account for each option in the Auto Attendant (i.e. #1, #2) with a Microsoft Teams Phone Standard license.
- The phone numbers of the on-call users who will be answering requests. It is usually their mobile numbers.
Step one – Set up Auto Attendant
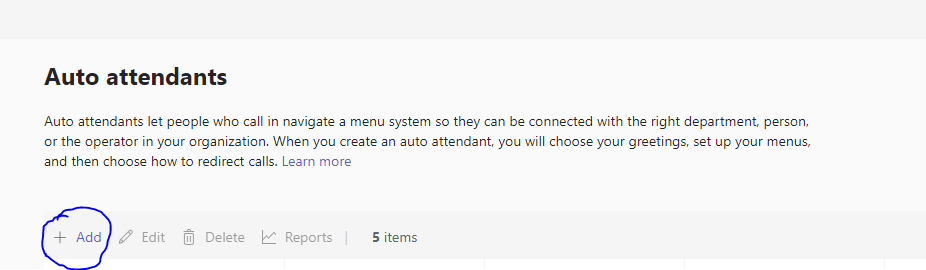
For this, you will need to go into Microsoft teams’ administration and go to Voice / Auto Attendants. Click Add:
It will start a wizard and all you need to do is go through the steps:
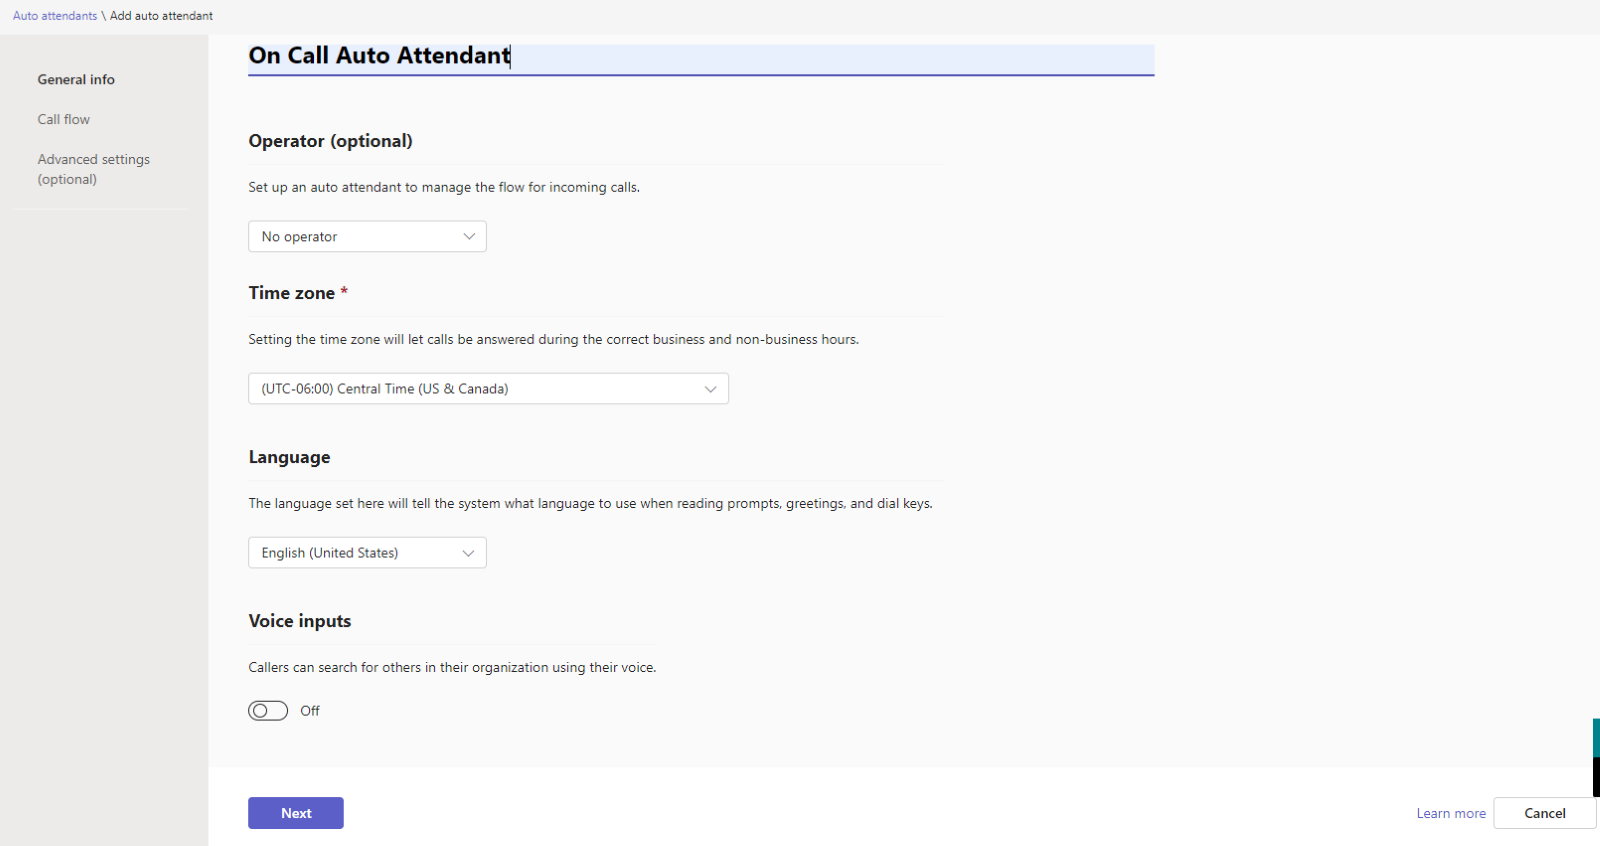
- Name your Attendant. It is un-personed so I have chosen no operator. I have also set the time zone and the language. Voice input is disabled. Click “Next”’
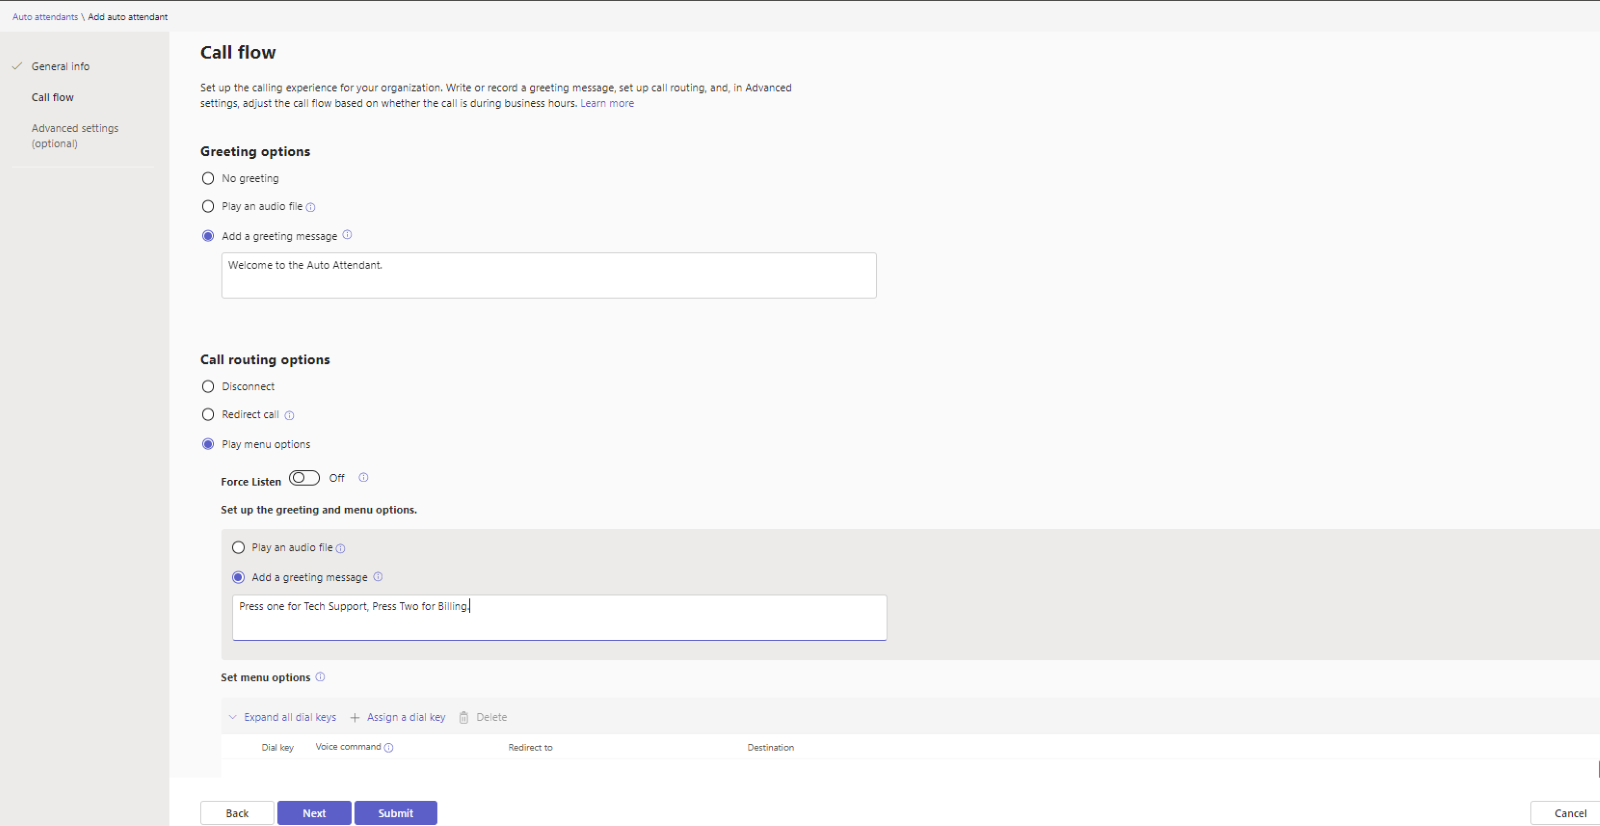
In the next section you set the call flow. Here we specify the initial greeting and then specify the options the attendant has to the user:
- Further down the screen, we specify how each option is routed by assigning dial keys to a user. Click “Assign a Dial key” and assign it to a “person in the organization”. Note: the user(s) picked MUST HAVE A TELEPHONE NUMBER ASSIGNED TO THEM! The telephone won’t be used but Teams admin needs it in order to use the forwarding feature on the account:
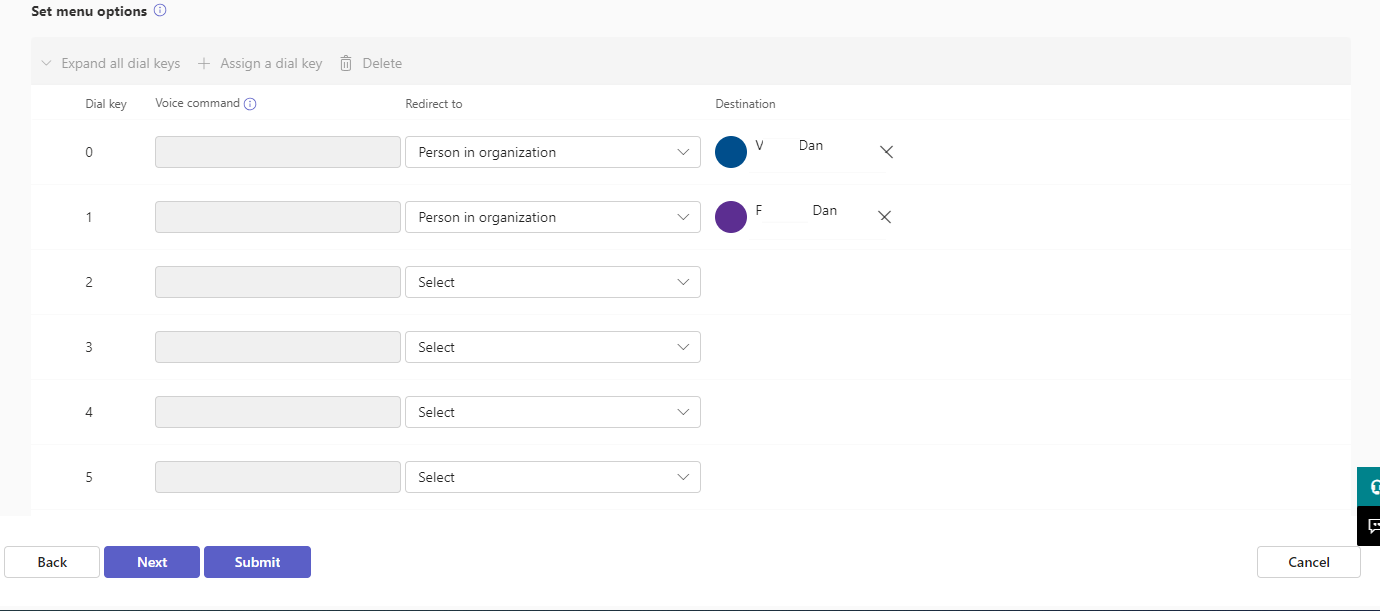
Click “Next”
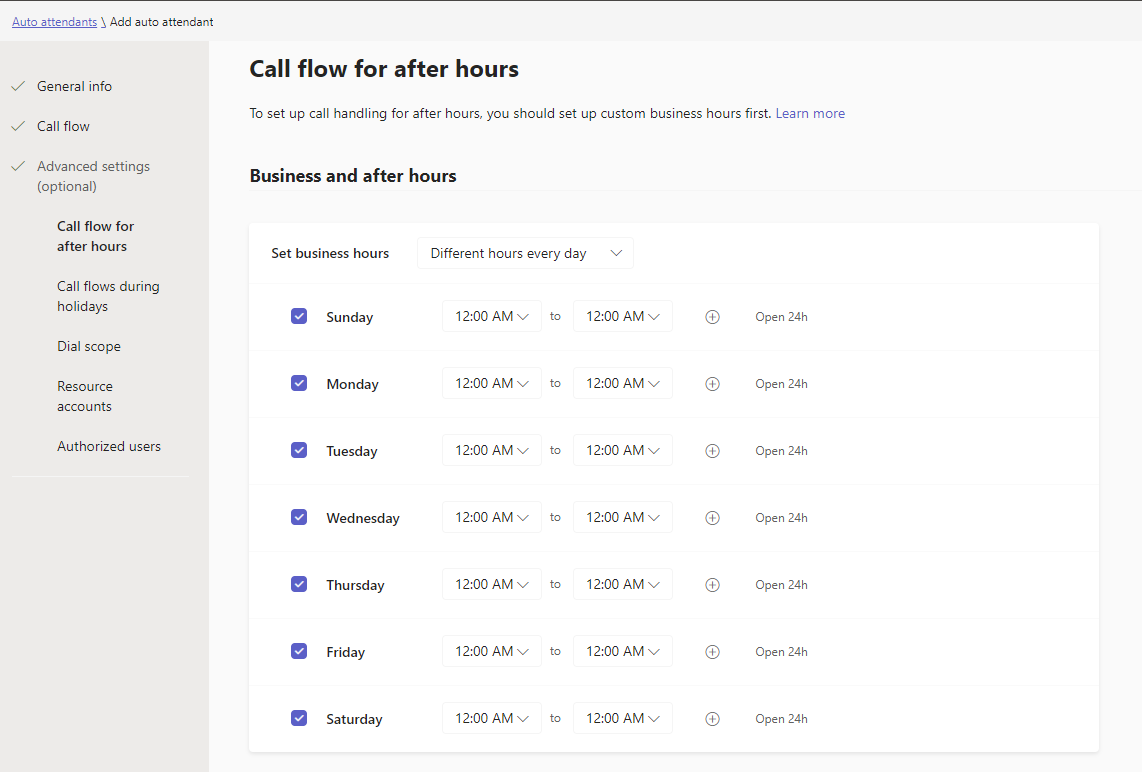
- In the next step you can assign hours for the queue and set up an after-hours queue so effectively you would have another section like the previous step. However, for this illustration the first queue is set up to be running 24 hours, so we only have one:
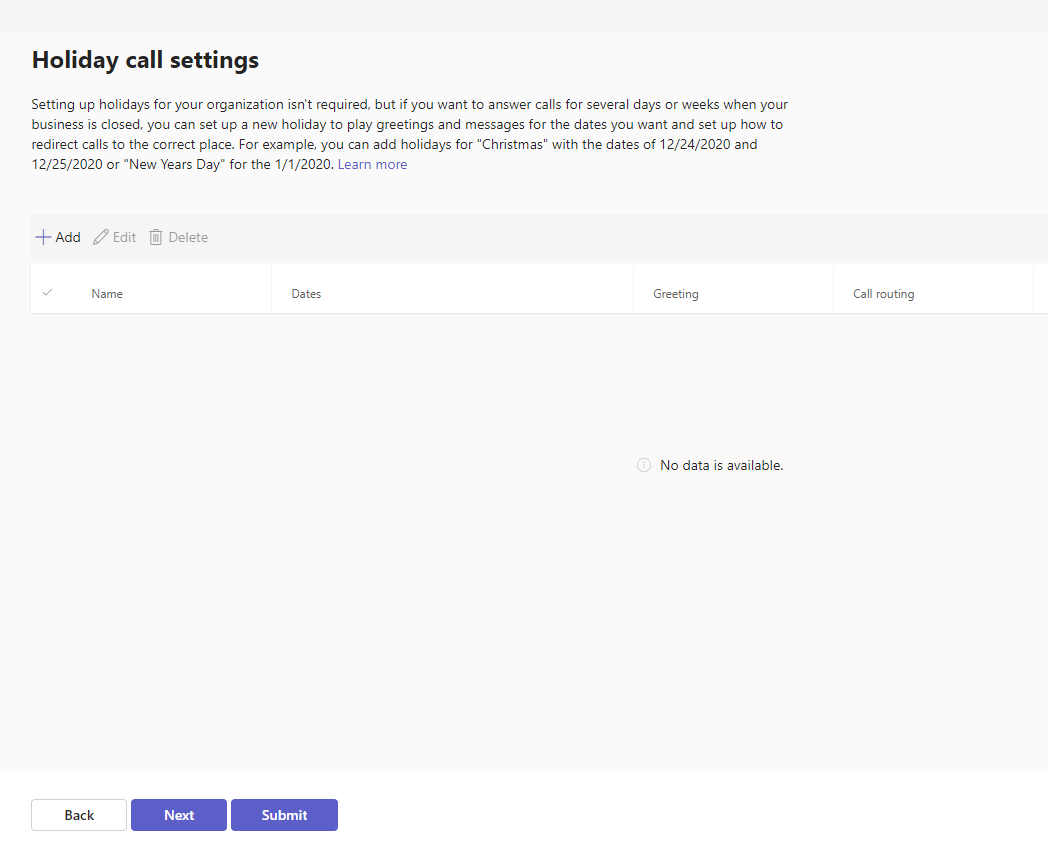
- There are no holidays for the Auto Attendant, so we just click Next:
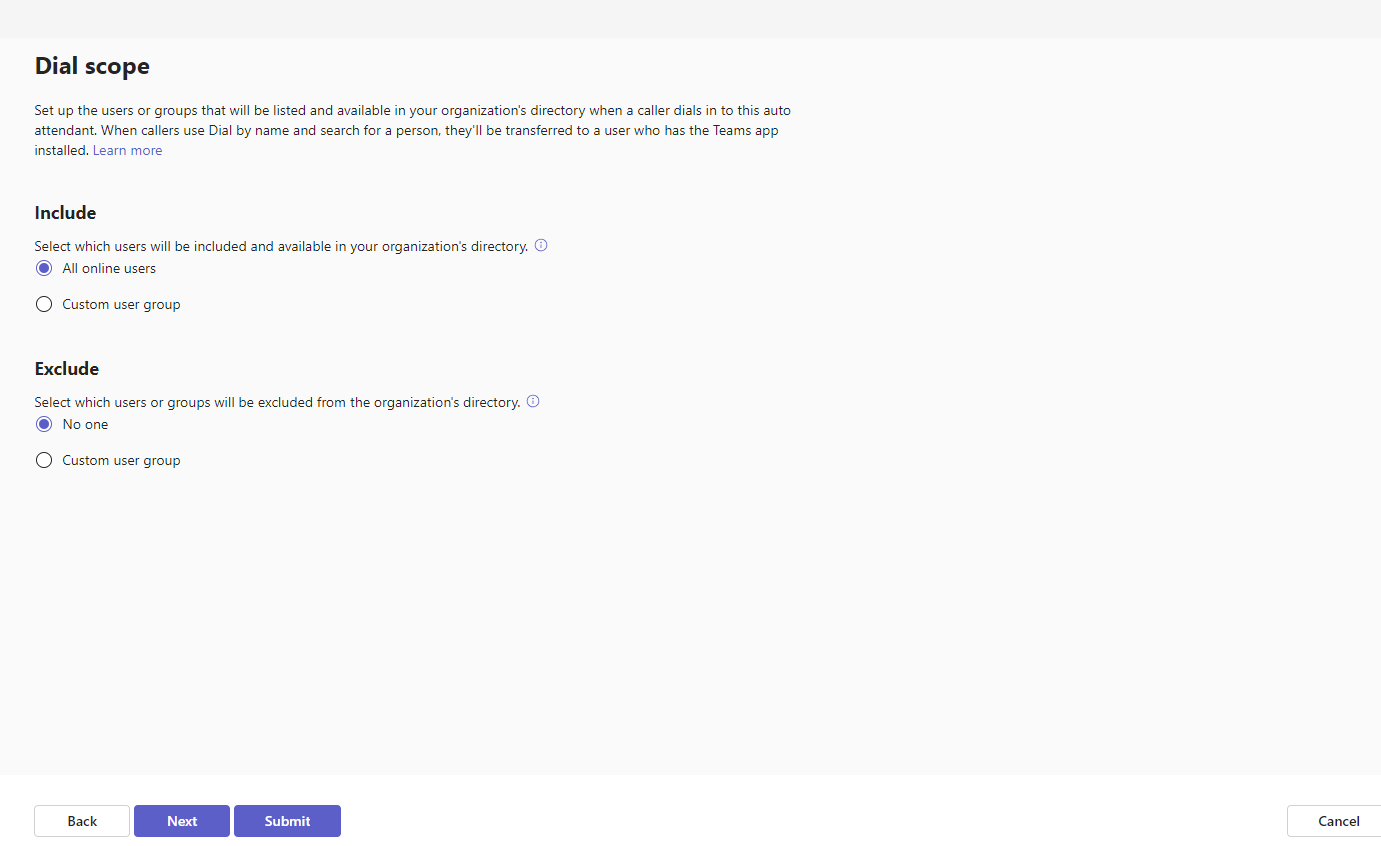
- Also, we just click next for the dial scope:
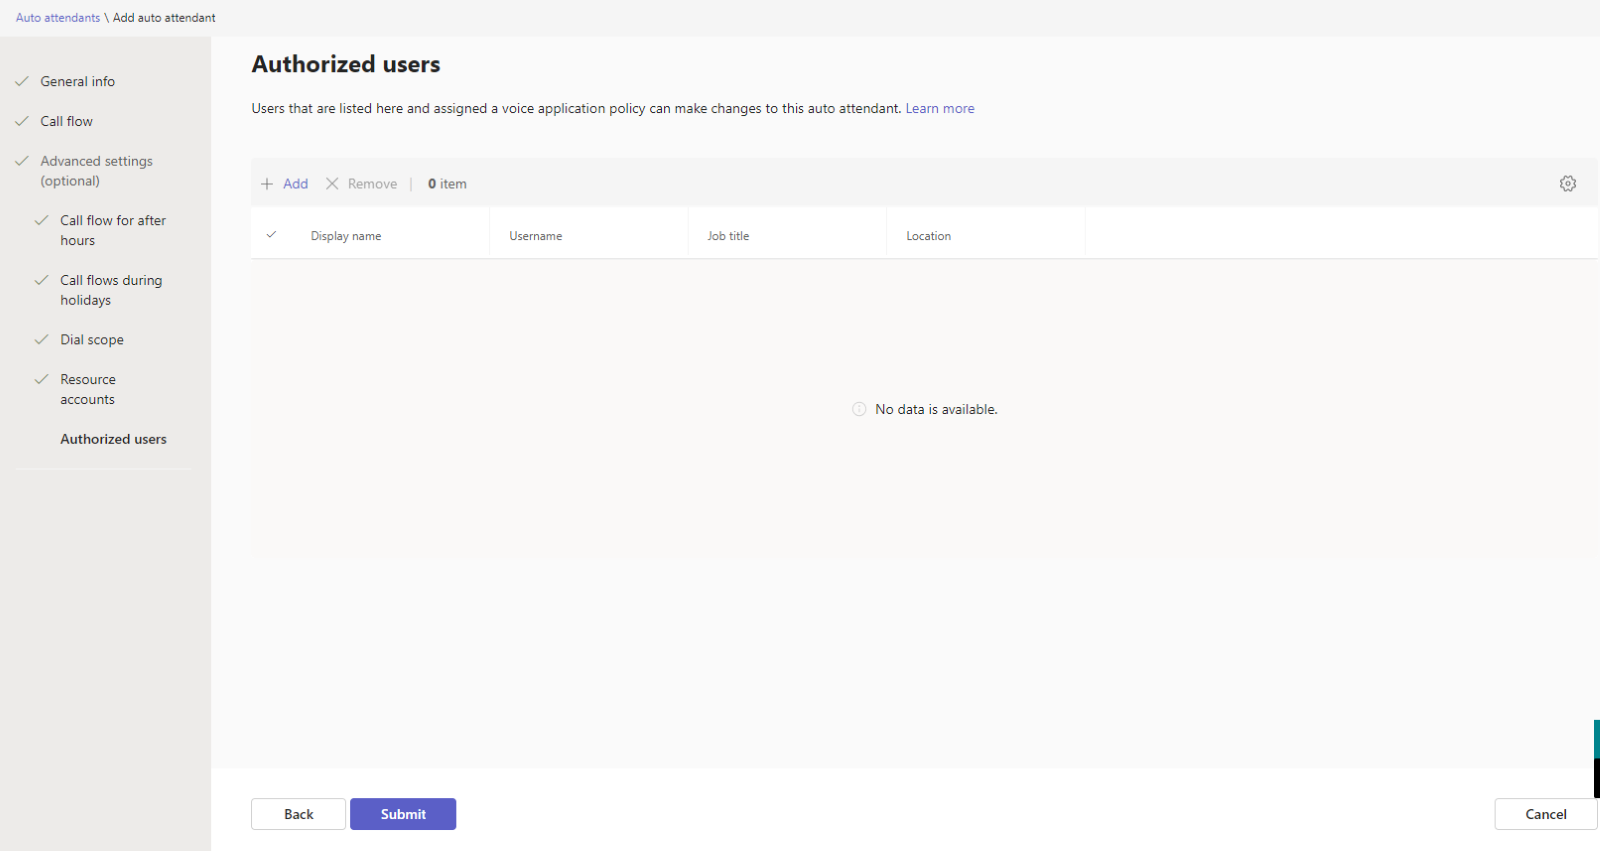
- In this step you need to add a resource account. Search for the Resource Account you created as part of the prerequisite above, and the click Add:

- Click “next” and finally Submit:
You now have an Auto Attendant set up! But before you can test it you need to set up the forwarding options for the dial key options you set up in step #3.
Step Two – Set up the Forwarding Option for Assigned Dial Keys
To properly Set up Auto Attendant for Teams After Hours Call Forwarding, you need to go through each user you assign a dial key to and set up forwarding options in their individual account.
For this, you need to go to Users in Teams Admin, search for the user and then change the following options:
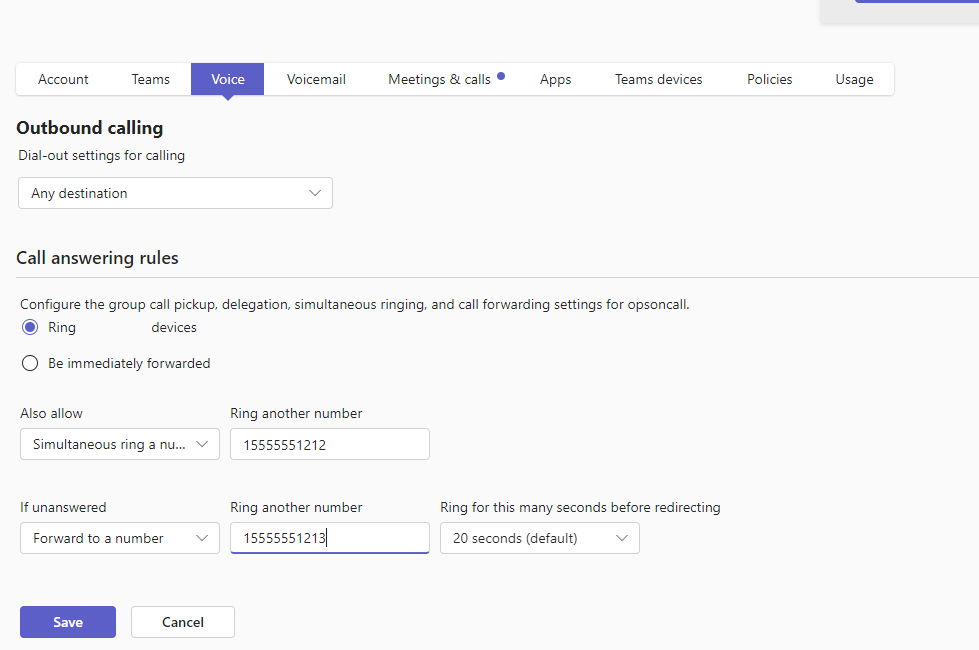
The options are “ring the accounts devices”, Also “allow simultaneous ring” on 15555551212 (primary number) and “if unanswered” for 20 seconds, forward to 15555551213(secondary) .
If you would rather user PowerShell to accomplish this, you issue the following command:
Connect-MicrosoftTeams

Set-CsUserCallingSettings -Identity userid@domain.com -IsForwardingEnabled $true -ForwardingType Simultaneous -ForwardingTargetType SingleTarget -ForwardingTarget "15555551212"

Set-CsUserCallingSettings -Identity userid@domain.com -IsUnansweredEnabled $true -UnansweredDelay 00:00:20 -UnansweredTargetType singleTarget -UnansweredTarget  15555551213
Expected Behavior for Set up Auto Attendant for Teams
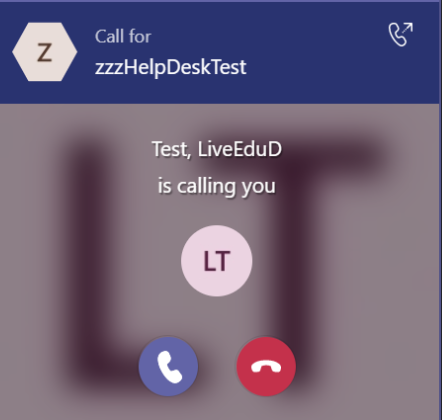
All right, we now have everything set up, it is time to test. Now when you test you should get the following behavior:
- A call is received by the auto Attendant
- You are greeting and, in this case, presented with 2 options (press #1 for Tech Support, #2 for Billing).
- Whichever one you pick goes to the team’s account assigned that dial key.
- The account has forwarding set up to ring the first forwarder and if not picked up in 20 second it will then ring the second forwarder.
There you have it. This is how to achieve a Set up Auto Attendant for Teams for Teams After Hours Call Forwarding. If you are an organization with a capable IT department, this could be an option to go with instead of a third-party service.
Reset MFA for a User

Sometimes you need to reset MFA for a user. It may be because they have switched to a new mobile device, lost or damaged a previous mobile device or they have switched from Text to number matching as there preferred method of MFA. Either way, it is a simple process.
Steps to reset MFA for a user – Admin
On the admin side, log into https://admin.microsoft.com
Click on Identity / Users / All Users / Per-user MFA
Search for the user you need to reset.
Once you find the user, check the check box next to them and click User MFA Settings just above.
You will see the following display:
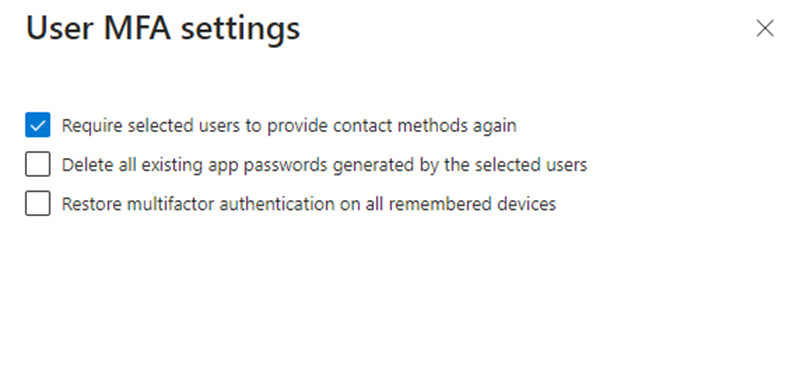
Make sure you check “Require selected users to provide contact methods again”.
Steps to reset MFA for a user – User
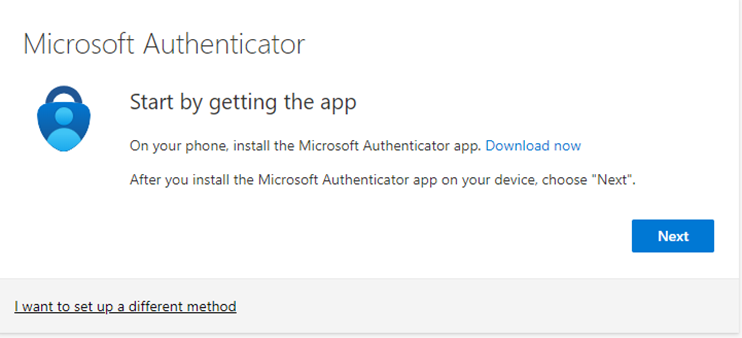
When the user logs in to any M365 app they will get this prompt:
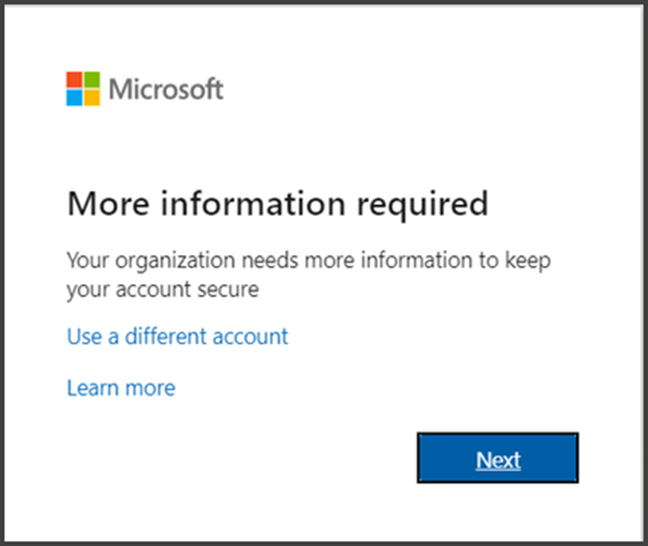
Mae sure the user has the Microsoft Authenticator app installed on their phone. Click on” Next”
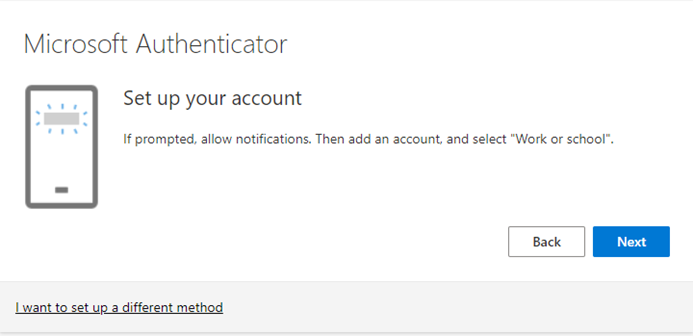
Click Next
Click Next
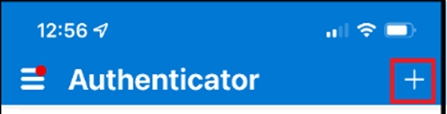
Open your Authenticator App and Click the “+” button to add an account.
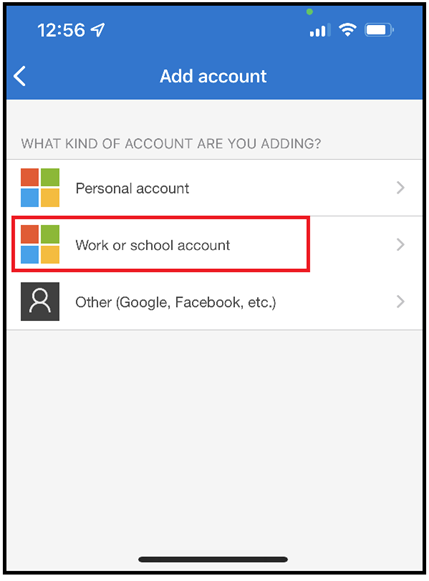
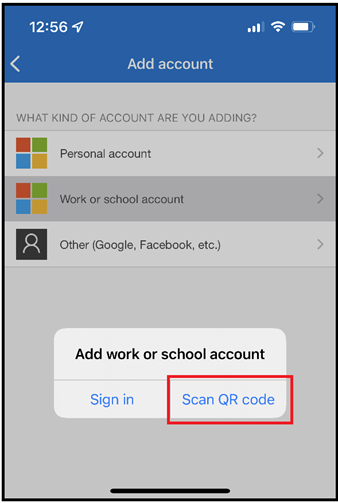
In this case it is a business account we are setting up. Choose Work or School Account
Choose Scan QR Code
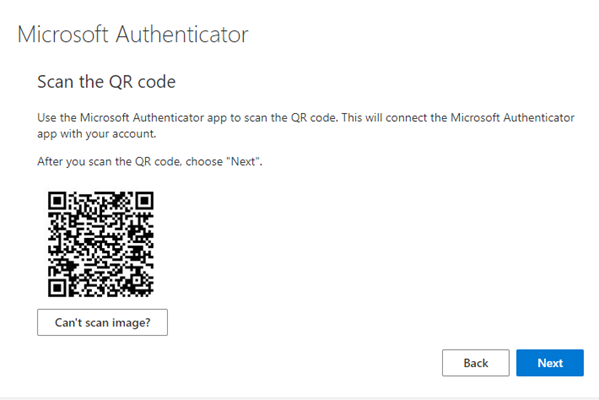
Go back to your computer screen. You will see the code to scan:
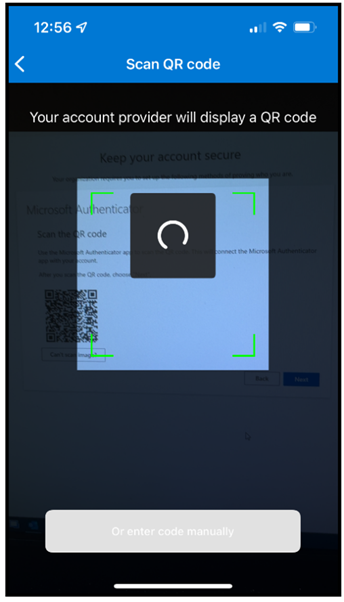
Use your phone to Scan the QR Code:
The computer screen will send you a two-digit number as a test code. Enter that number into the waiting prompt on your mobile screen.
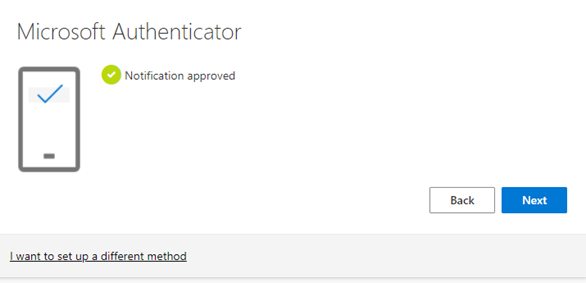
The test number will have succeeded. Click Next.
You can set up an App password if you want. In this example, we are not.
If you have followed this steps to reset MFA for a user, you will have it done in no time. It is a much more secure way to authenticate a users. I would suggest you always uses this way unless you have no other option!