
MS has told you that you cannot disable Exchange Quarantine Notification to users. Sorry, but that sucks. What you can do is disable the user’s ability to do anything with them. You can create a policy to do this. This is how it is configured:
Configuring an Exchange Quarantine Notification
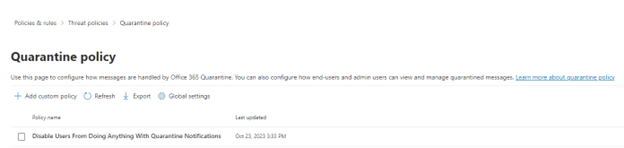
First go to https://security.microsoft.com/quarantine and click “+ Add Custom Policy.
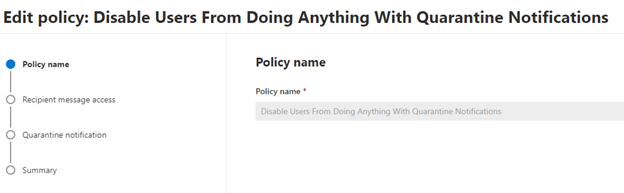
Give the Policy a name nd click “Next”.
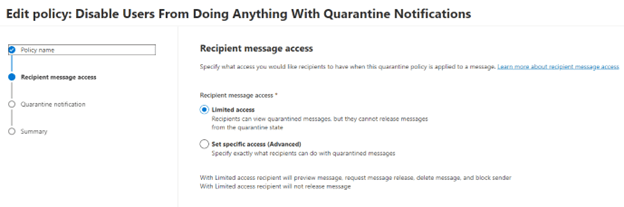
Choose “Limited Access”. This allows the user to receive the notifications but they are unable to act upon them. Click Next.

Leave “Enable” unchecked and click Next.
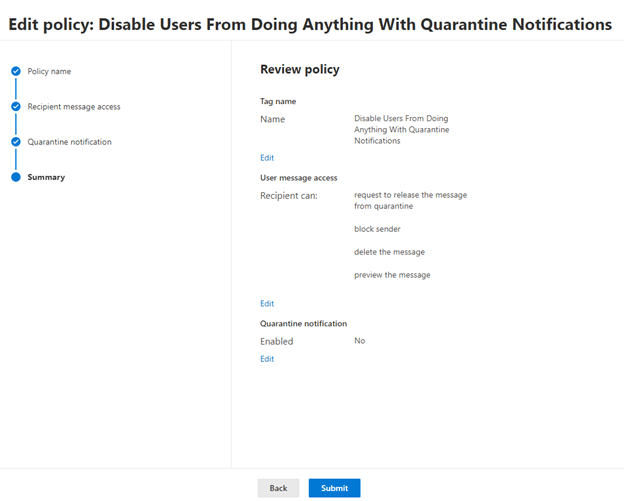
The policy is done. Click Submit!
In this scenario, users will receive a notification in their inbox that a message has been quarantined but they are not able to do anything with it. This is good for a larger organization. Users receive a lot of phishing emails that look very similar to this. They do it on purpose. We are inundated with email and all it takes is one click, and you could be on your way to getting your credentials compromised by some bad actors. It is a good practice to continually mitigate security breaches through email.
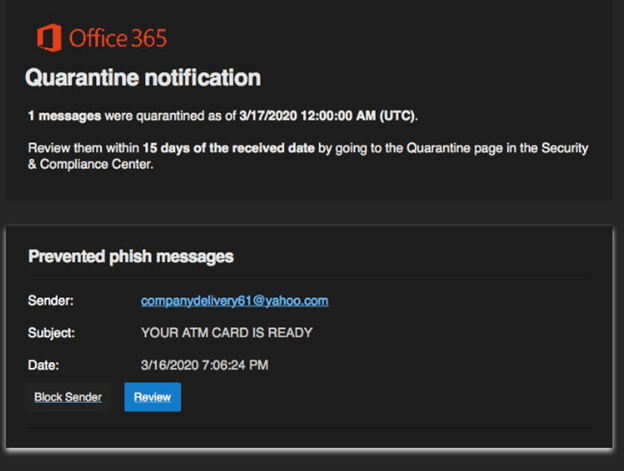
What a User Sees with an Exchange Quarantine Notification
It is better to have a process where you take the quarantine message you received and forward it to your helpdesk. They will know right away if the notification is legit or not and then vet the message for its legitimacy.
The user will receive an email like what you see below:
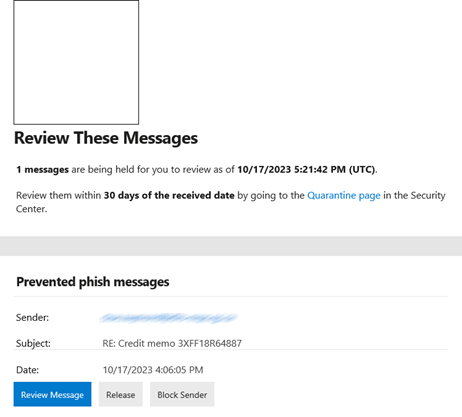
This is what your users should forward to your helpdesk. That brings us to what the admin sees…
What an Admin Sees with In Quarantine
This is an example from quarantine in the security portal (https://security.microsoft.com/quarantine):
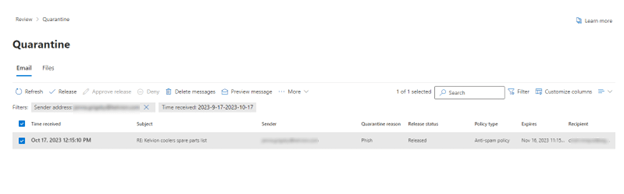
This is a suspected message that could be phishing or malware. Click on the message and a flyout appears:
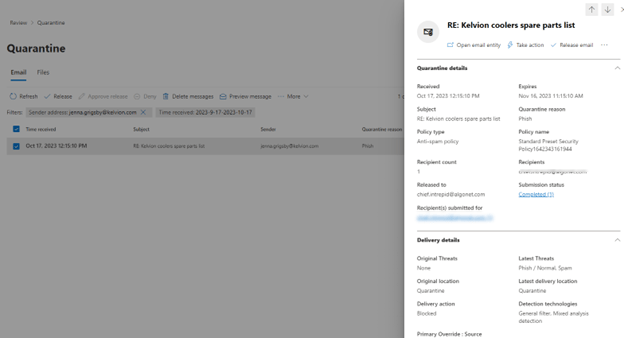
Clicking on “Take Action” on the top right gives you several choices:
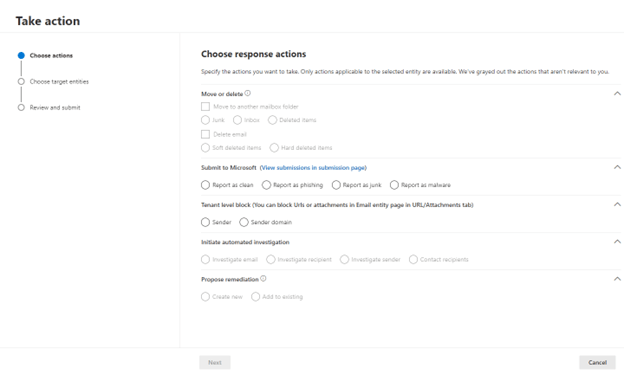
You can choose several options:
Move / Delete – You can move the email to Inbox, Junk or Deleted items. You can also do a hard of soft delete.
Submit to Microsoft – This one is most important. It sharpened the Quarantine filter resulting in fewer false positives which will hope to decrease the number of quarantine notification your users see.
Initiate Automated Investigation – it will launch an investigation with Microsoft.
Propose Remediation – This is the same as releasing the message from Quarantine.
Click Next a couple of more times and you will have submitted either a moved the email somewhere on the users’ profile, submitted the email to Microsoft or released it as safe.
There is one other screen. It asks if you would like to report similar email the same way. I would say yes since it streamlines this process going forward also help users to receive fewer Quarantine notifications.
Setting up an Exchange Quarantine Notification Policy this way will help you reduce any phishing attempts that would look very similar to the notifications that Microsoft sends out.
Dan
I am an Senior IT professional with several years experience in the field. I have supported thousands of users over the years. The organizations I have worked for range in size from one person to thousands of people. I have performed support from Help Desk, Network / Cloud Administration, Network Support, Application Support, Implementation and Security.